Pixar USDをVisual Studio 2019でビルドする

はじめに

Pixar USDをWindowsのVisual Studio 2019でビルドする。
USD v22.11のコードを使用した。
./images/figure_02.png

前提とする開発環境

開発環境は以下の通りである。

Visual Studio 2019を使う理由は build_usd.py にVisual Studio 2022の記述がないからである。 https://github.com/PixarAnimationStudios/USD/blob/release/build_scripts/build_usd.py

セットアップ手順

ここではVisual Studio 2019の環境はすでに整っていると仮定する。それ以外のパッケージは以下の手順で構築できる。

1
2
winget install NASM.NASM --silent # C:\Program Files\NASM にインストールされる
winget install Python.Python.3.9 --silent

コマンドプロンプトないしWindowsターミナルを開き直し、以下のコマンドを実行して %PATH% が通っていることやバージョンを確認する。

1
2
3
4
5
>where python
C:\Users\User\AppData\Local\Programs\Python\Python39\python.exe

>python --version
Python 3.9.7

Pythonのパッケージをインストールする。

1
2
3
python -m pip install --upgrade pip
python -m pip install PySide6
python -m pip install PyOpenGL

ビルド手順

x64 Native Tools Command Prompt for VS 2019を開き、以下のコマンドを実行する。

1
2
git clone https://github.com/PixarAnimationStudios/USD pixar
python pixar\build_scripts\build_usd.py .\usd

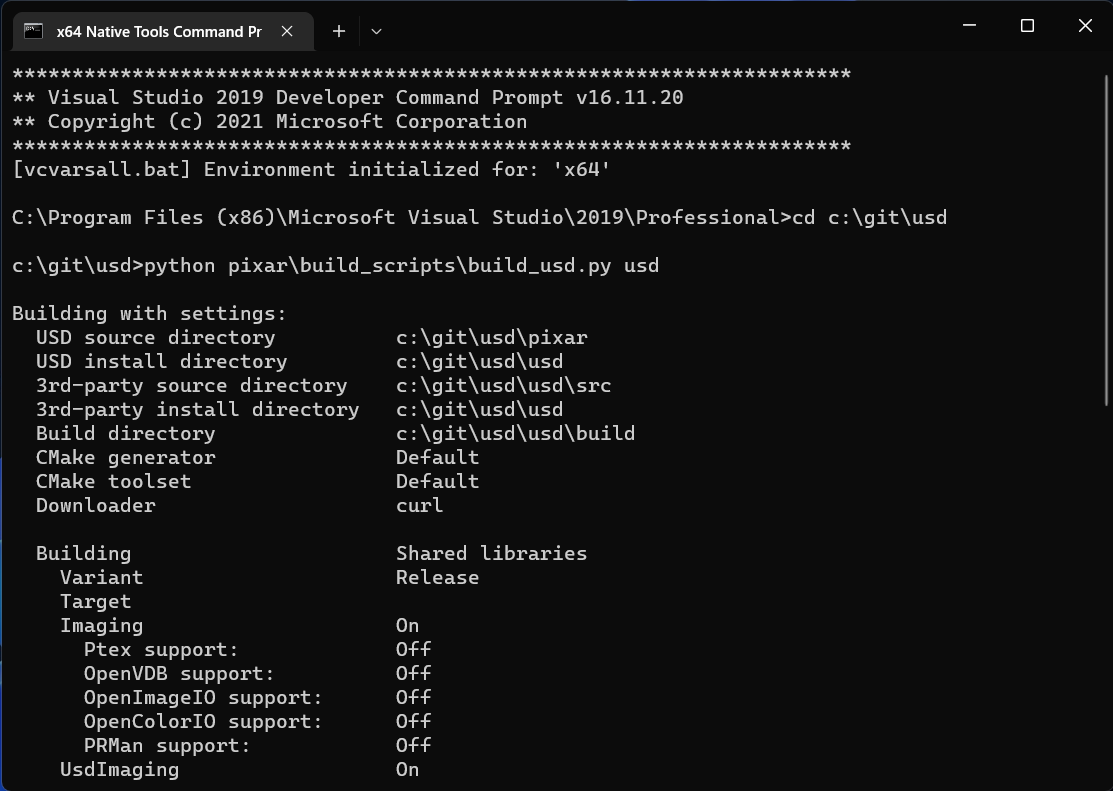
参考までにビルドのログを示す。

 1
 2
 3
 4
 5
 6
 7
 8
 9
10
11
12
13
14
15
16
17
18
19
20
21
22
23
24
25
26
27
28
29
30
31
32
33
34
35
36
37
38
39
40
41
42
43
44
45
46
47
48
49
50
51
> C:\git\usd>python pixar\build_scripts\build_usd.py .\usd

Building with settings:
  USD source directory          C:\git\usd\pixar
  USD install directory         C:\git\usd\usd
  3rd-party source directory    C:\git\usd\usd\src
  3rd-party install directory   C:\git\usd\usd
  Build directory               C:\git\usd\usd\build
  CMake generator               Default
  CMake toolset                 Default
  Downloader                    curl

  Building                      Shared libraries
    Variant                     Release
    Target
    Imaging                     On
      Ptex support:             Off
      OpenVDB support:          Off
      OpenImageIO support:      Off
      OpenColorIO support:      Off
      PRMan support:            Off
    UsdImaging                  On
      usdview:                  On
    Python support              On
      Python Debug:             Off
      Python 3:                 On
    Documentation               Off
    Tests                       Off
    Examples                    On
    Tutorials                   On
    Tools                       On
    Alembic Plugin              Off
      HDF5 support:             Off
    Draco Plugin                Off
    MaterialX Plugin            Off

  Dependencies                  zlib, boost, TBB, OpenSubdiv
STATUS: Installing zlib...
STATUS: Installing boost...
STATUS: Installing TBB...
STATUS: Installing OpenSubdiv...
STATUS: Installing USD...

Success! To use USD, please ensure that you have:

    The following in your PYTHONPATH environment variable:
    C:\git\usd\usd\lib\python

    The following in your PATH environment variable:
    C:\git\usd\usd\bin
    C:\git\usd\usd\lib

上のログにあるように環境変数の%PYTHONPATH%と%PATH%を追加ないし更新する。
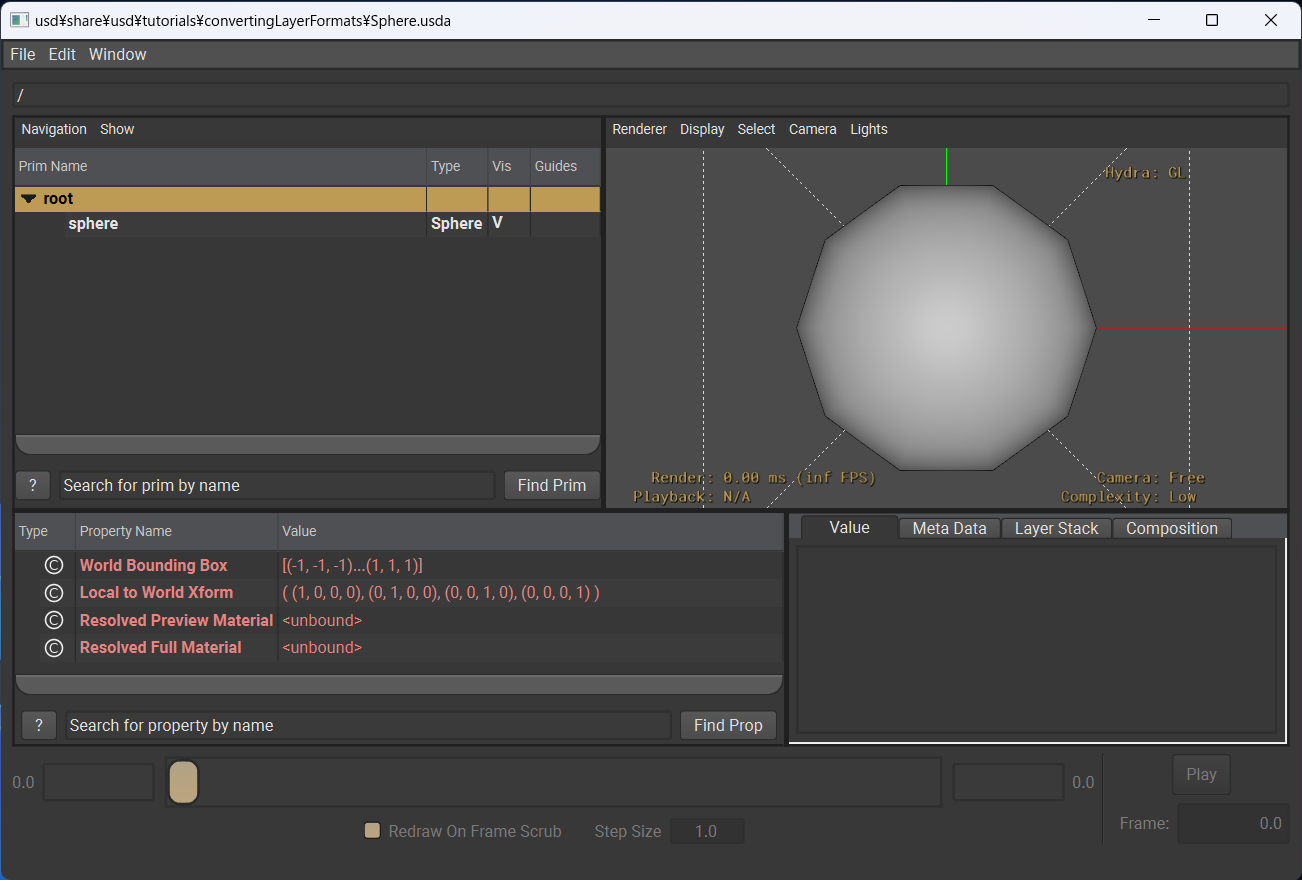
それらの環境変数をコマンドプロンプトなどで反映できていることを確認したら、 usdview を実行する。このコマンドの引数にUSDファイルを渡すとシーンを表示できる。

以下の例では球体を表示する。

1
usdview C:\git\usd\usd\share\usd\tutorials\convertingLayerFormats\Sphere.usda

./images/figure_01.png

余談

私がビルドをし始めたとき、最初はPython v3.10で試していたのだが、ビルドが通らなかった。GitHubでUSDのIssueをみていたら、VFX Reference PlatformのCY2020と合わせていると記述があった。 https://github.com/PixarAnimationStudios/USD/issues/1990#issuecomment-1289768731

VFXPlatform CY2020についてはこのページに載っている。
https://vfxplatform.com